October 05, 2026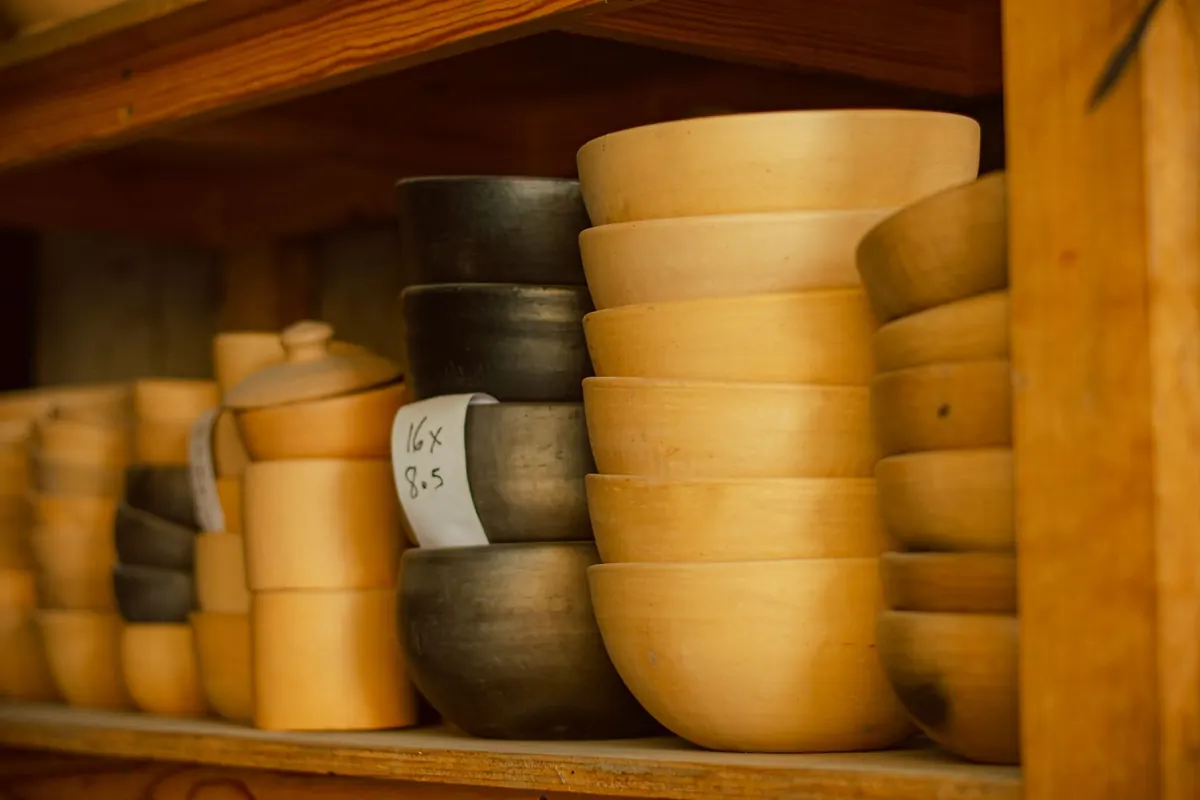
Put a thin porcelain shade on the table and the light seems to come from inside the clay itself. Set a stoneware lantern beside it and the light escapes only through the openings you cut. That single difference — whether light travels through the wall or around it — shapes nearly every decision that follows: how thin you can work, how slowly the piece must dry, what it costs to fire, and how long it survives a crowded side table. Neither clay is better. They are two sets of trade-offs, and the right one depends on whether you want the wall to glow or the form to carry the light.
Two Clay Bodies, Briefly
Stoneware comes from secondary clays with more iron and mineral impurities, usually fired between cone 6 and cone 10 — roughly 1200°C to 1300°C. It is plastic and forgiving. You can throw a tall lamp base in a few pulls, attach a handle without a fight, and still have a piece that fires dense and strong. It is also opaque, at any thickness you would realistically use for a lamp, and it reads as buff, grey, toast, or speckled depending on the body.
Porcelain is built from kaolin, feldspar, and silica, fired at the top of the range. It is white, glassy, non-porous, and translucent when thin. It is also shorter, stiffer, and less tolerant of uneven walls. Mid-range porcelains fired around cone 6 get close to the look with less heat work, which is worth knowing if your kiln tops out early.
Strength: Where Each One Wins
A mature stoneware lamp base takes a knock and keeps working. Grog in the body reduces shrinkage and interrupts the path a crack would take, so a bump on the rim usually costs you a chip rather than a whole piece. Stoneware also handles gentle thermal cycling well, which matters in an enclosed lantern where a bulb warms the clay and the room cools it again every evening.
Porcelain fired properly is hard and dense. A well-compressed 4 mm wall can carry more weight than people expect, and its glazed surface resists scratching and staining. The trouble is the failure mode. Stoneware chips; thin porcelain cracks. Rims chip, thin handles snap, and a translucent shade that gets knocked off a shelf rarely survives the fall.
Two practical notes. Glaze fit matters more than clay body for thermal shock: a glaze that is slightly too tight will craze or shiver in a warm lamp no matter what it sits on. And sudden cold is the enemy of thin porcelain — a shade taken from a warm room to a cold porch can crack from the temperature change alone.
Translucency and Glow
Light passes through porcelain because its fired body is largely glass with very little iron or titanium to scatter and absorb it. Thickness decides everything else:
- 2–3 mm: bright, almost paper-like glow; every rib and facet reads as a fine line.
- 4–5 mm: soft, even light; the form becomes a silhouette with a halo.
- 6 mm and up: milky at best, opaque in practice.
Stoneware simply does not glow. Its iron content and its mineral impurities stop light at the surface, so a stoneware lamp has to be designed around openings: pierced holes, cut panels, an open frame, an unglazed interior that bounces warm light back through the pattern. That is not a consolation prize. A pierced stoneware lantern throws patterns across a wall in a way a smooth porcelain cylinder never will, because the light is shaped rather than filtered.
Testing before you commit
Roll a set of tiles at 2 mm, 3 mm, 4 mm, 5 mm, and 6 mm, fire them with the finish you plan to use, and photograph each one over the same bulb in a dark room. Two things will surprise you: how much a heavy glaze cuts the glow, and how much a body stain kills it. If you want real translucency, keep the glaze thin and the body pale on both faces.
In the Workshop and the Kiln
Shrinkage is the number most people forget. Stoneware commonly moves 6–10% from wet to fired; porcelain often 12–16%. That difference compounds with every fitting you add — a lamp pipe hole cut too small at leather-hard gets smaller still.
Porcelain asks for compression. Rib each wall as you throw, keep the thickness even from foot to rim, avoid water pooled in a thick foot ring, and dry slowly under plastic. Bisque gently through the last of the chemical water, and fire thin shades on a waster slab or with setters so they cannot slump. Plan for loss. Warping and slumping in porcelain are not signs of failure; they are the cost of the material.
Stoneware gives you room to be less fussy. It still rewards even walls and slow drying, but you can build thicker, work bigger, attach more confidently, and open the kiln with fewer surprises.
Cost: What You Are Actually Paying For
- Clay: porcelain bodies generally cost more per bag, though in small quantities the gap is modest.
- Firing: a cone 10 firing takes longer and uses more energy than cone 6, and it wears kiln elements faster.
- Loss rate: more warped and cracked pieces go in the reclaim bucket with porcelain, so the cost per finished lamp is higher than the clay price suggests.
- Furniture and time: setters, kiln wash, extra trimming and sanding all add up.
- Shipping: stoneware is heavier and costs more to move; thin porcelain needs more packing to arrive intact.
If you are making a pair of lamps for your own home, the cost difference is small. If you are producing twenty, count your actual yield per firing before you price anything.
A Short Way to Decide
- Ask whether the wall should glow or the openings should shape the light. That answer usually settles the clay.
- If it glows, choose porcelain and commit to 3–5 mm walls and a test tile.
- If it does not, choose stoneware and design piercings or cut panels at leather-hard, with a sharp bit and a hole size that accounts for shrinkage.
- Match weight to the job: a heavy stoneware base steadies a tall floor lamp; a lighter porcelain shade is easier on a delicate fixture.
- Think about where it lives — porch, bathroom, a child's room — before you fall in love with a thin rim.
Finishing a Lamp Safely
Drill the cord and pipe holes before the final firing, size them slightly larger than the hardware plus shrinkage, and soften the edges so the cord is not rubbing against glaze. Fit a rubber grommet or bushing where the cord passes through clay. Buy certified lamp sockets and cord, keep the bulb wattage within what the socket and the ventilation of your form can handle, and let an enclosed lantern breathe — drilled holes near the top do more for bulb life than a bigger opening at the base. If you are hard-wiring a fixture into a wall or ceiling, have a qualified electrician check it against your local code.
Then live with the piece for a week before you make another. The right clay body becomes obvious the first evening you turn the lamp on and the room looks the way you pictured it.
Photo: César O'neill / Pexels