October 01, 2026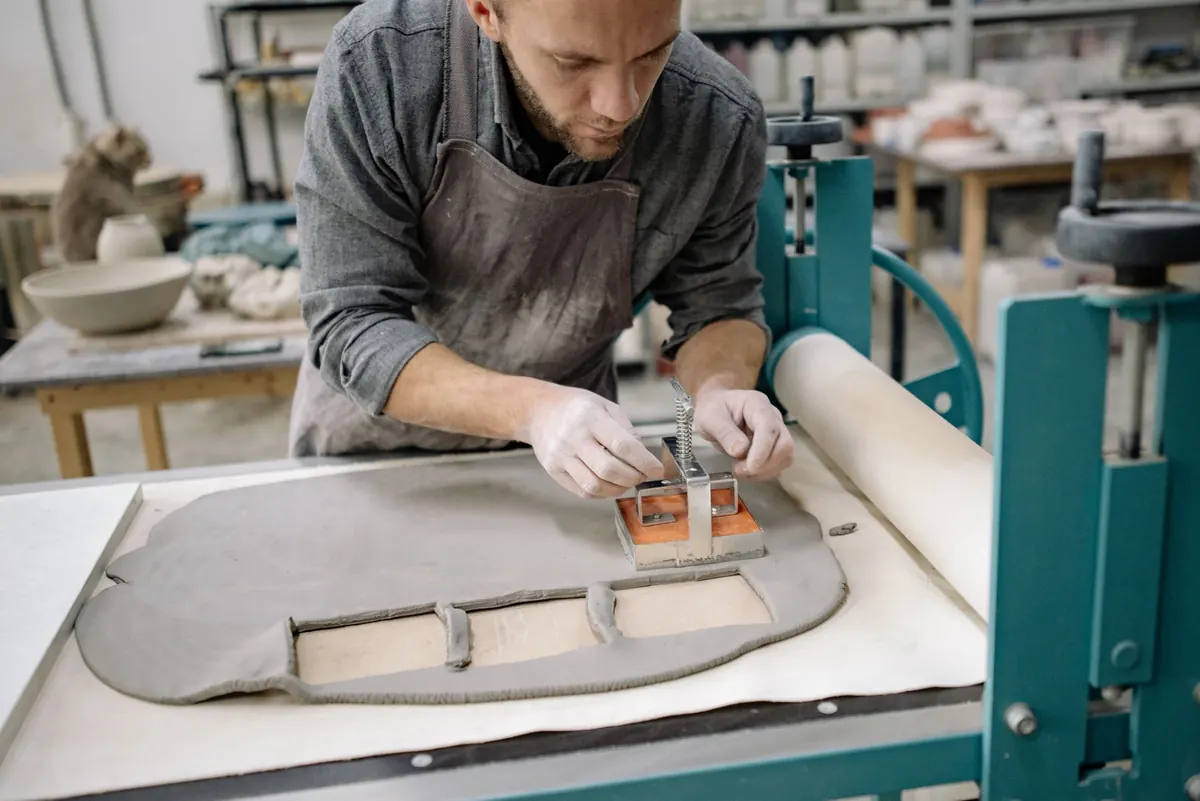
A slab-built lantern looks like an easy project: a box, a few holes, a lid. Then you build one and discover the box has opinions. Walls warp, corners crack, and a pattern that looked bold on paper reads as a smear in clay. None of that is a reason to skip it. A lantern is one of the best handbuilding exercises there is, and once the first one comes out of the kiln, you will want to make three more.
What makes the project worth the trouble is that it forces four separate skills into one object. You have to control moisture across large flat panels, plan a pattern that survives being handled, join edges that are all at the same stage of dryness, and think about how light actually behaves when it comes through a wall. Get one of those wrong and the kiln will tell you. Get all four right and you end up with something you cannot buy — a shape that throws patterned light across a wall at night.
Pick a Clay Body and Plan the Panels
A smooth stoneware with a little fine grog — roughly 10 to 20 percent — is the easiest place to start. The grog gives slabs internal structure, so tall walls hold their shape. Too much grog, though, and the thin bridges between cutouts crumble when you clean them up. Porcelain glows beautifully when light passes through a 5 mm slab, but it warps and slumps far more readily, so treat it as a second or third lantern, not a first.
Whatever you choose, keep a fist-sized lump of the same clay in a bag for repair coils, and roll a test strip from it. Measure the strip wet, then measure it again after the bisque firing. That number is your real shrinkage figure, and it is worth writing on the bag — most mid-range clays lose somewhere between 6 and 12 percent, but the difference matters when a lantern lands 1.5 cm shorter than the shelf you built it for.
Decide the footprint before you roll anything. A 10 x 10 cm square, 20 cm tall, is a friendly size for a table lantern. Sketch four walls, a base, a roof, and — if you want one — a lid that seats into a lip ring. Add roughly 10 percent to your measurements for shrinkage. Then cut the whole set from card stock, tape the pieces into a box, and stand it where the lantern will actually live. Card is stiff and instantly convincing: you will see at once whether 20 cm is too tall for the lamp table, and whether the roof overhang you drew looks generous or mean. Ten minutes of paper saves a rebuild.
- Four wall panels — or one long strip if you plan to bend soft corners instead of joining them.
- A base, cut a few millimetres larger all round so it reads as a plinth.
- A roof with a 1–2 cm overhang, which is what throws the light downward.
- A lip ring and lid, if you want the lantern to close properly rather than perch.
Rolling Slabs You Can Actually Build With
Roll between two sticks of equal thickness — about 8 mm for a lantern this size, 6 mm if you want more light through the walls, 10 mm for anything taller than 35 cm. Work on canvas or a bat and change direction as you go, so the slab does not develop a grain that pulls it one way. A slab that only ever gets rolled north to south will curve like a wet plank.
Then compress. Run a rib firmly across the whole slab, turn it 90 degrees, and go again. Compression closes the small voids that become cracks and helps the panel stay flat. For thick cutout panels, flip the slab once and compress the other face too, doing it early while the clay is still soft enough to forgive you. Never fold a slab over itself to move it; the trapped air pocket turns into a split in the firing. Slide both hands underneath, or lift it on the canvas.
Cutting holes in sticky clay gives you smeared edges and stretched openings. Cutting at leather hard gives you edges you can almost smooth with a fingertip.
Lay the slab on a board, cover it
Photo: Yan Krukau / Pexels